React Desktop is a popular library built on top of React.js to bring the native desktop experience to the web.
Why React Desktop?
This library provides macOS and Windows OS components. These inbuilt components can be used directly hence saving a lot of time and effort to code them from scratch. For instance, If you want to build the title bar for your web app then you can directly use TitleBar Component which will allow you to create a TitleBar with controls like Maximize, Minimize and Close. Similarly, you can use other components provided by the library both for Windows and macOS. It is a cross-platform desktop development library. It is also compatible with electron.js and NW.js. It is mostly used in javascript-powered projects.
Installing React Desktop:
Step 1: Create a React application using the following command:
npx create-react-app foldername
Step 2: After creating your project folder i.e. foldername, move to it using the following command:
cd foldername
Step 3: After creating the ReactJS application, Install the required module using the following command:
npm install react-desktop
Project Structure: It will look like the following.

Let’s understand the working through an example.
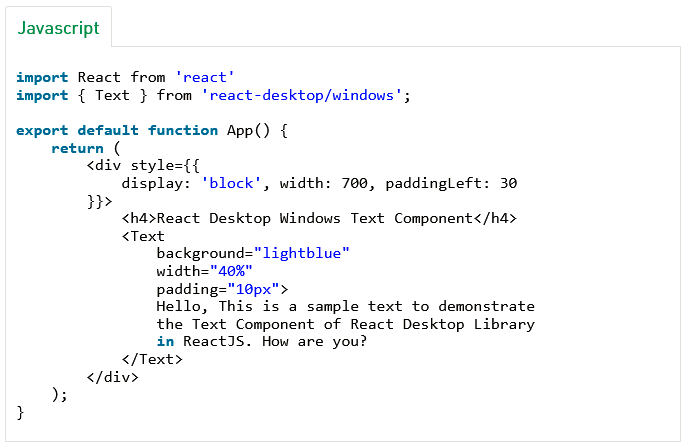
Example: Now write down the following code in the App.js file to add your custom text in the given text area using Text component. Here, App is our default component where we have written our code.
Command to run the Application: Run the application using the following command from the root directory of the project:
npm start
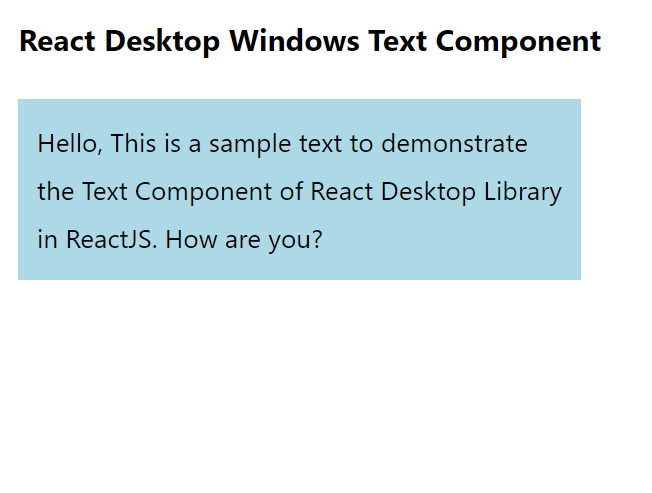
Output: Now open your browser and go to http://localhost:3000/, you will see the following output:
Blog Source- https://www.geeksforgeeks.org/react-desktop/